Makeup is both an art and a science, and it can be overwhelming to navigate the world of products, techniques, and trends. Whether you’re a seasoned makeup enthusiast or someone who’s just starting out, chances are you’ve encountered a few beauty conundrums along the way.

From finding the right shade of foundation to making your lipstick last all day, we’ve got the answers to your most common makeup questions right here. Read on to discover insider tips that will elevate your makeup game and make your routine easier and more effective!
How Do You Find the Right Shade of Foundation for Your Skin Tone?
Finding the perfect foundation shade is crucial for a natural and flawless look. The key is to test your foundation on areas that closely match the tone of your face—such as your jawline and chest area—rather than on your hand, which often differs in color. Pick two or three shades that you think match your skin tone best, and apply a small strip of each. Check the swatches in natural daylight, as artificial indoor lighting can skew the appearance of the shades. The one that blends seamlessly into your skin without leaving a noticeable line is your match.
Pro Tip: If you’re between shades, you can mix two foundations together for a custom blend. Also, don’t forget that your skin tone may change with the seasons, so it’s a good idea to have a lighter and a darker shade in your makeup collection.

What Is the Best Way to Hide a Blemish?
Covering a blemish requires a strategic approach to prevent it from looking cakey or drawing more attention. Start by applying your foundation to create an even base, which minimizes the amount of concealer you’ll need. Opt for a high-coverage, creamy concealer. Use a small, precise brush or your fingertip to apply the concealer directly on the blemish, and gently blend the edges so it merges into your foundation. Setting the area with a light dusting of translucent powder helps lock the concealer in place for all-day coverage.
Pro Tip: Avoid using too much product on blemishes, as this can make them more noticeable. Instead, build thin layers of concealer until the blemish is camouflaged.
What Is the Purpose of a Corrector, and How Do You Know Which Color You Need?
Correctors are color-correcting products designed to neutralize specific tones on your skin, making your overall complexion more even. They work based on color theory—opposite colors on the color wheel cancel each other out.
- Green correctors: Neutralize redness from blemishes, rosacea, or sunburn.
- Peach, orange, or red correctors: Counteract dark circles under the eyes. The deeper your skin tone, the darker the corrector should be.
- Yellow correctors: Brighten sallow or dull skin and counteract purple or blue undertones, particularly under the eyes.
Apply the corrector sparingly in the targeted area, blend well, and follow up with your regular concealer and foundation.

How Often Should You Wash Your Makeup Brushes?
Regularly cleaning your makeup brushes is essential for both hygiene and the longevity of the tools. Brushes can harbor bacteria, dirt, oil, and product buildup, which can lead to breakouts or skin irritations. It’s recommended to wash your brushes at least once a week with a gentle shampoo and lukewarm water. Gently massage the bristles, rinse them thoroughly, and let them air dry completely before using again.
Pro Tip: For a quick clean between uses, invest in an antibacterial brush cleaner that doesn’t require water.
What’s the Best Way to Apply Foundation for a Natural, Streak-Free Finish?
A streak-free foundation finish can make all the difference in achieving a natural look. Using your fingers allows the warmth of your skin to help blend the foundation seamlessly. Alternatively, a buffing brush provides more control, allowing you to build coverage while smoothing out streaks for an airbrushed effect. Apply foundation in thin layers, focusing on areas that need more coverage, and blend outwards for a flawless finish.
Pro Tip: Always use a damp makeup sponge to blend the final layer for an ultra-natural, skin-like finish.
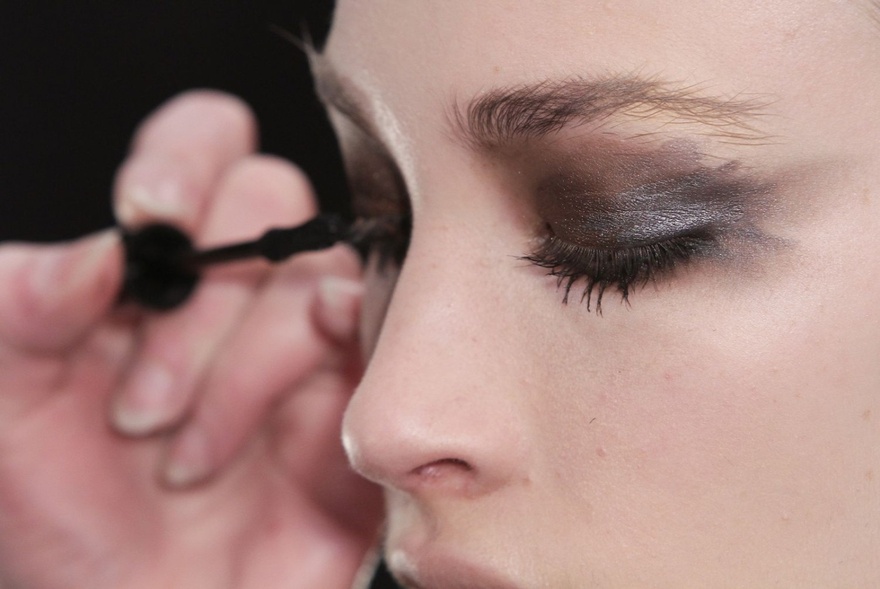
Where on the Face Should You Apply Blush for a Flattering, Lifted Effect?
Blush is a fantastic way to add a healthy glow and dimension to your face. For a natural, lifted look, apply blush to the apples of your cheeks—the roundest part that pops forward when you smile—and blend it slightly upwards towards your temples. This upward motion not only creates a lifted appearance but also softens your facial contours, giving a more youthful look.
Pro Tip: Avoid applying blush too close to your nose or too far down on your cheeks, as this can make your face appear rounder or droopier.
How Can You Keep Your Lipstick in Place?
Lipstick that feathers or smudges can ruin an otherwise flawless makeup look. The key to long-lasting lipstick is preparation. Start by using a lip liner to define the edges of your lips and prevent color from bleeding. For even more staying power, fill in your entire lip area with the liner before applying your lipstick. Matte lipsticks tend to have better longevity, while glossier formulas are more prone to smudging. To prevent your lipstick from transferring, blot your lips with a tissue and set the color with a light dusting of translucent powder.
Pro Tip: Layering a lip liner under a matte lipstick and finishing with a tiny bit of lip balm in the center of your lips will keep your lipstick comfortable and long-lasting.

What’s the Difference Between BB Cream, CC Cream, and Tinted Moisturizer?
All three products—BB cream, CC cream, and tinted moisturizer—are lightweight alternatives to foundation, but they have slight differences in focus:
- BB cream: Offers hydration, sun protection, and sheer coverage while helping with blemish control.
- CC cream: Focuses on color correction, helping to neutralize redness or dullness while providing light coverage.
- Tinted moisturizer: Primarily adds a hint of color while keeping your skin hydrated.
Whichever product you choose, always apply your regular skincare products (serum, moisturizer, SPF) beforehand for the best results.
Where Should You Apply Contour for a Subtle, Sculpted Effect?
Contouring enhances your natural bone structure, but the goal is to make it subtle and seamless. Apply contour to the hollows of your cheeks (underneath the cheekbones), along your jawline, and around your temples. Blend thoroughly so that the product mimics natural shadows on your face rather than looking like obvious makeup.
Pro Tip: Less is more with contouring. Use a cool-toned product that’s just a shade or two darker than your skin tone for the most natural effect.

What’s the Secret to Achieving Glowing, Glassy Skin?
Glowing, glassy skin is all about preparation. The foundation of a luminous complexion is proper skincare. Start with clean, hydrated skin, and layer on hydrating serums, creams, and face oils before applying makeup. Using a hydrating primer helps smooth the skin and creates a radiant base for foundation. When applying foundation, use a lightweight, dewy formula, and skip the powder until the end to avoid dulling the skin’s natural sheen. Add a liquid or cream highlighter to the high points of your face, such as your cheekbones, for an extra touch of glow.
Pro Tip: If you have oily skin, focus your glow-enhancing products on the high points of your face and leave the T-zone matte to avoid looking greasy.

Conclusion
Makeup can be transformative, but knowing the right techniques and products to use makes all the difference. Whether you’re trying to find the perfect foundation shade, cover a blemish, or master contouring, these expert tips are designed to help you achieve flawless results. Keep experimenting, trust the process, and remember that makeup should enhance your natural beauty while allowing you to express yourself.
